How to Place a Stainless Steel Crown on a Primary Molar (Conventional Prep vs the Hall Technique)
When to crown a primary molar, the prep-and-crimp workflow that earns a snap fit, and the no-drill Hall technique — a dental student's SSC guide.
A primary molar with a huge Class II lesion and a fresh pulpotomy does not want another large filling — it wants coverage. Stainless steel crowns (SSCs) are the most durable restoration we have for badly broken-down primary molars, yet students under-use them, over-reduce for them, or fight a crown that refuses to seat. Here is when to reach for one, how to prep so it snaps home, and when the Hall technique lets you skip the drill entirely.
Why "think SSC first" is the rule worth memorizing
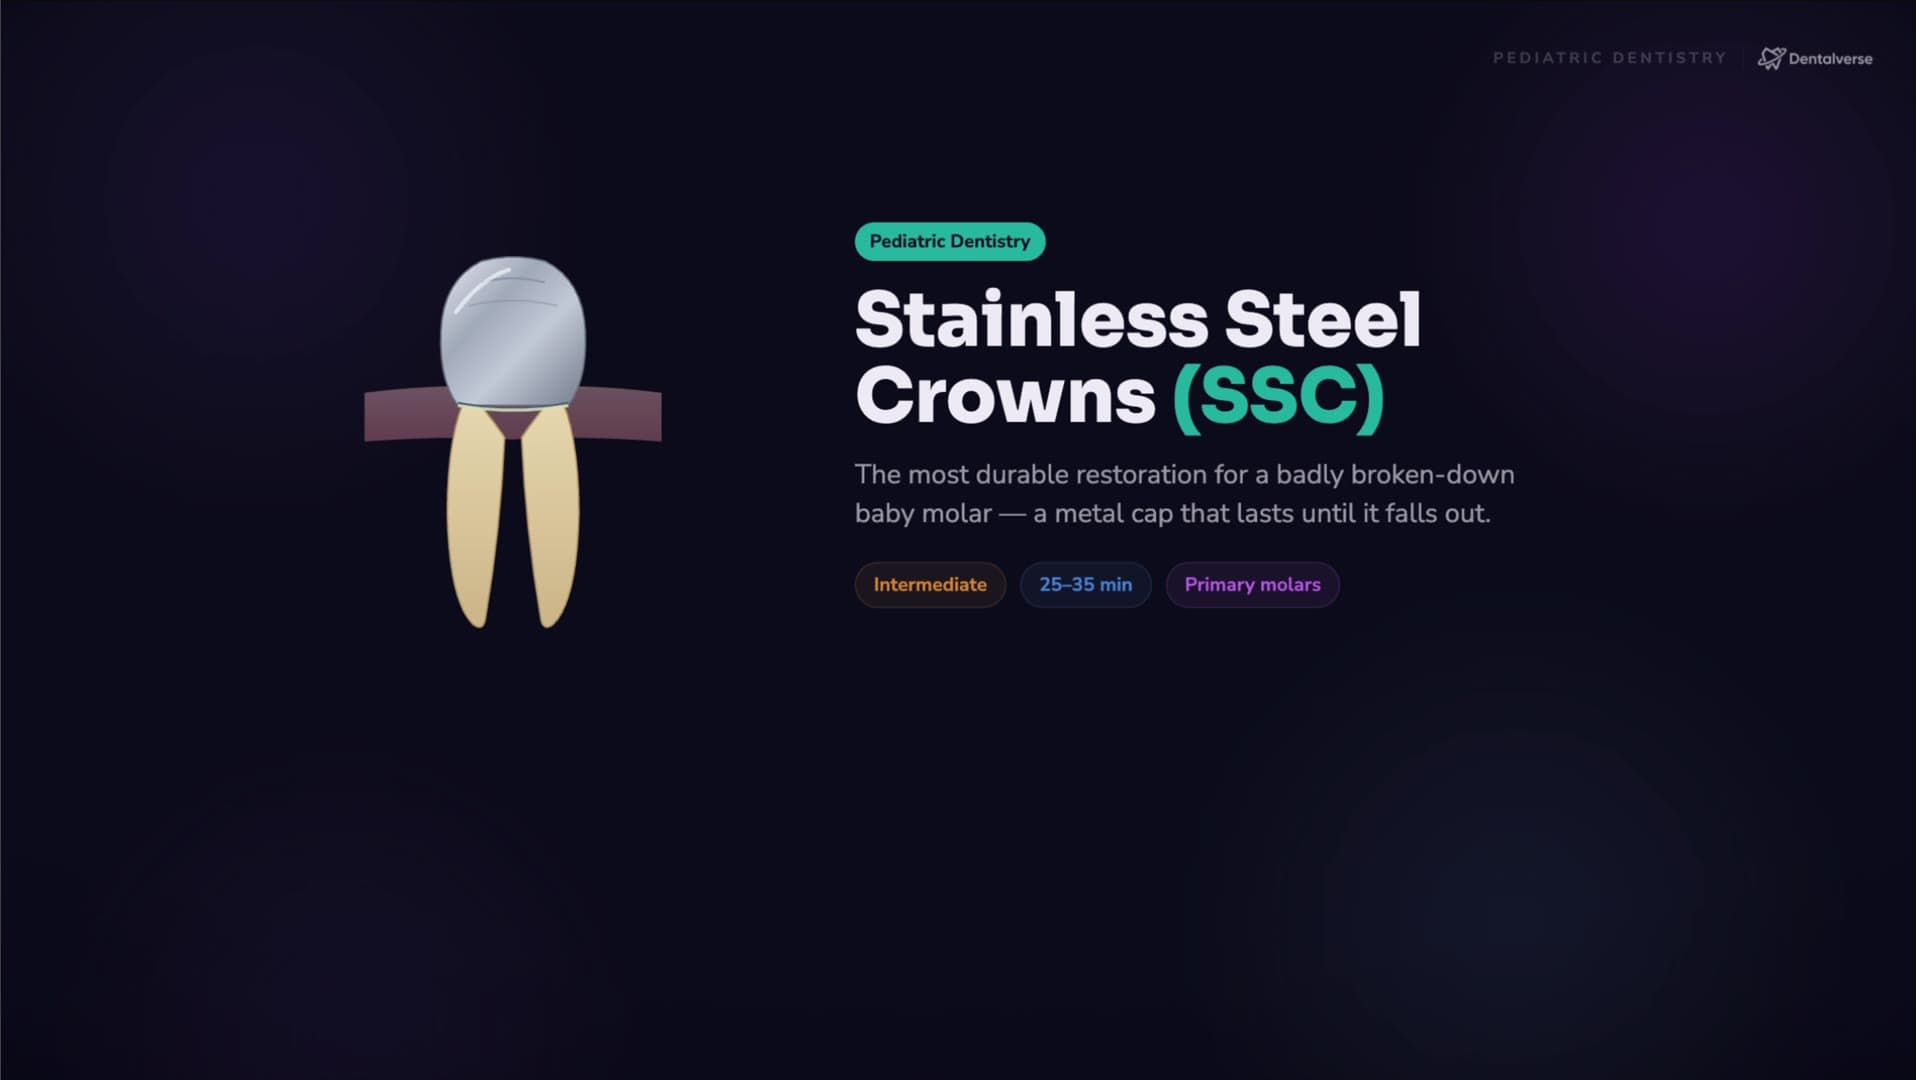
An SSC is a preformed metal crown giving full coronal coverage to a primary tooth. Two words carry the concept: preformed — you fit a manufactured cap rather than building anything up — and full coverage, which is why it outlasts any large intracoronal restoration in a primary molar. It only has to survive until exfoliation, but until then it must withstand a child's occlusion and caries risk.
The indications cluster into four situations:
- After pulp therapy — following a pulpotomy or pulpectomy, a crown is commonly recommended as the final restoration (AAPD guidance on pediatric restorative dentistry supports full coverage here).
- Extensive or multi-surface caries — large Class II lesions, undermined cusps, poor remaining structure.
- High caries risk — when long-term seal and durability matter most.
- Developmental defects — hypoplasia, or severely broken-down teeth needing coverage.
Compress that into the exam-and-clinic heuristic: if the lesion is large or multi-surface, or the tooth is pulp-treated — think SSC first.
The contraindications are a simple gate: the tooth must be keepable. Non-restorable (fractured below bone, too little structure to retain a crown) or showing advanced pathology headed for extraction — uncontrolled infection, severe mobility beyond normal exfoliation — is not a crown case.
Two techniques, two philosophies
Here is the signature fork in this topic. The Conventional technique is subtractive: prepare the tooth, then fit and crimp the crown — the standard clinical approach. The Hall technique is a sealing philosophy: no local anesthetic, no caries removal, no preparation — cement the crown straight over the carious molar and seal the disease in. Same crown, completely different logic.
Select the crown before you touch the bur
This is the classic pearl, and it prevents the classic mistake. Before any reduction, confirm diagnosis and restorability, plan behavior management and anesthesia, and lay out the armamentarium: crown set, crown scissors, contouring and crimping pliers, a bite stick, and cement.
Then pick the crown — before you prep. Choose the correct tooth crown (depending on the system, E or F for second primary molars, D for first molars), aiming for a size that seats with a firm snap at the margin after preparation. Why the order matters: discover mid-prep that the crown is too small and you will over-reduce the tooth trying to force the fit. Size first, cut second.
Prep for the snap: reduce, slice, round
The preparation exists to earn that snap fit, and it has a rhythm — flatten the top, slice the sides, round the corners.
- 1Occlusal reduction. Create space for the crown so you do not end up with a high bite — flat, even, following the cusp anatomy.
- 2Proximal reduction (slicing). Reduce mesial and distal to break the contacts and open a path of insertion; walls smooth, no undercuts. This is what lets the crown drop past the contacts — under-slicing is the number-one reason a crown will not seat.
- 3Round the line angles; minimal buccal-lingual reduction. Soften sharp corners so the crown will not snag, taking only enough buccal-lingual to seat without ledges — primary molars are already constricted cervically.
Try-in, trim, contour, crimp, cement
The try-in is your checkpoint before the irreversible step. The crown should seat fully to the margin with firm pressure — walk the marginal adaptation all the way around, confirm the occlusion is not excessively high, check for rocking. If it will not seat: re-check the proximal contacts first (the most common blocker), then smooth the line angles, then consider another size.
Next, the finishing trilogy. Trim any margin that runs long or impinges on the gingiva, with crown scissors. Contour to recreate the cervical adaptation and natural bulge. Crimp the gingival margin inward — crimping converts a loose cap into a snug, sealed one, improving retention and marginal seal.
Cement with an appropriate luting cement — commonly a glass-ionomer. Fill the crown, seat it lingual to buccal with firm pressure, and have the child bite on a bite stick or cotton roll — recruiting the child's own occlusal force to drive the crown home. Clean up ruthlessly: floss out every trace of interproximal cement (it causes gingival inflammation) and verify the occlusion. Post-op: mild discomfort is possible, avoid very sticky foods initially, return if the bite feels very high.
The Hall technique: seal the caries away from its fuel
No drill, no needle, no caries removal. In the Hall technique you cement a preformed metal crown over a carious primary molar with no local anesthetic and no preparation at all. The biology is the hook: caries needs its biofilm and a dietary substrate; seal the lesion off completely and it arrests.
But case selection is critical, and this is where students get tested. The tooth must be vital, with no signs of irreversible pulpitis or abscess, and the child must cooperate with crown seating. If contacts are tight, orthodontic separators can be placed first. Choose a crown that seats over the tooth with pressure, cement fully, and expect a temporary bite opening — the occlusion typically re-establishes itself as the teeth re-equilibrate. The EAPD deep-caries guidance lists the Hall technique as a management option in the primary dentition; the IAPD description is the definitional one — no local anesthetic, no caries removal, no tooth preparation.
The four errors that cost students marks (and crowns)
- Crown won't seat → proximal contacts not fully reduced, sharp line angles, or wrong size. Fix the slicing first.
- Open margins → inadequate contour or crimp, or a crown that is too large.
- High occlusion → inadequate occlusal reduction or a crown never fully seated; caught early, clean the cement and re-seat.
- Recurrent caries → the crown treats the tooth, not the disease. Without a prevention plan running in parallel, the next tooth carries the same risk.
Key takeaways
- Think SSC first for pulp-treated primary molars and large multi-surface lesions; the tooth must be restorable and worth keeping.
- Select the crown size before preparing the tooth — the single habit that prevents over-reduction.
- Prep sequence: flat occlusal reduction, proximal slicing to break contacts, rounded line angles, minimal buccal-lingual cutting.
- Trim → contour → crimp turns a loose cap into a sealed restoration; seat lingual-to-buccal on a bite stick and floss out interproximal cement.
- The Hall technique seals caries in without anesthetic, drilling, or caries removal — but only on a vital tooth with no irreversible pulpitis, in a cooperative child.
Study this properly
Start with the Stainless Steel Crowns (SSC) reference page for the full clinical breakdown. The complete narrated video lesson and step-by-step protocol — conventional workflow, Hall case selection, and the error-to-step troubleshooting map — is inside Dentalverse (start free).
This article is a study aid, not medical advice — always follow your institution's protocols and your supervising clinician's guidance.