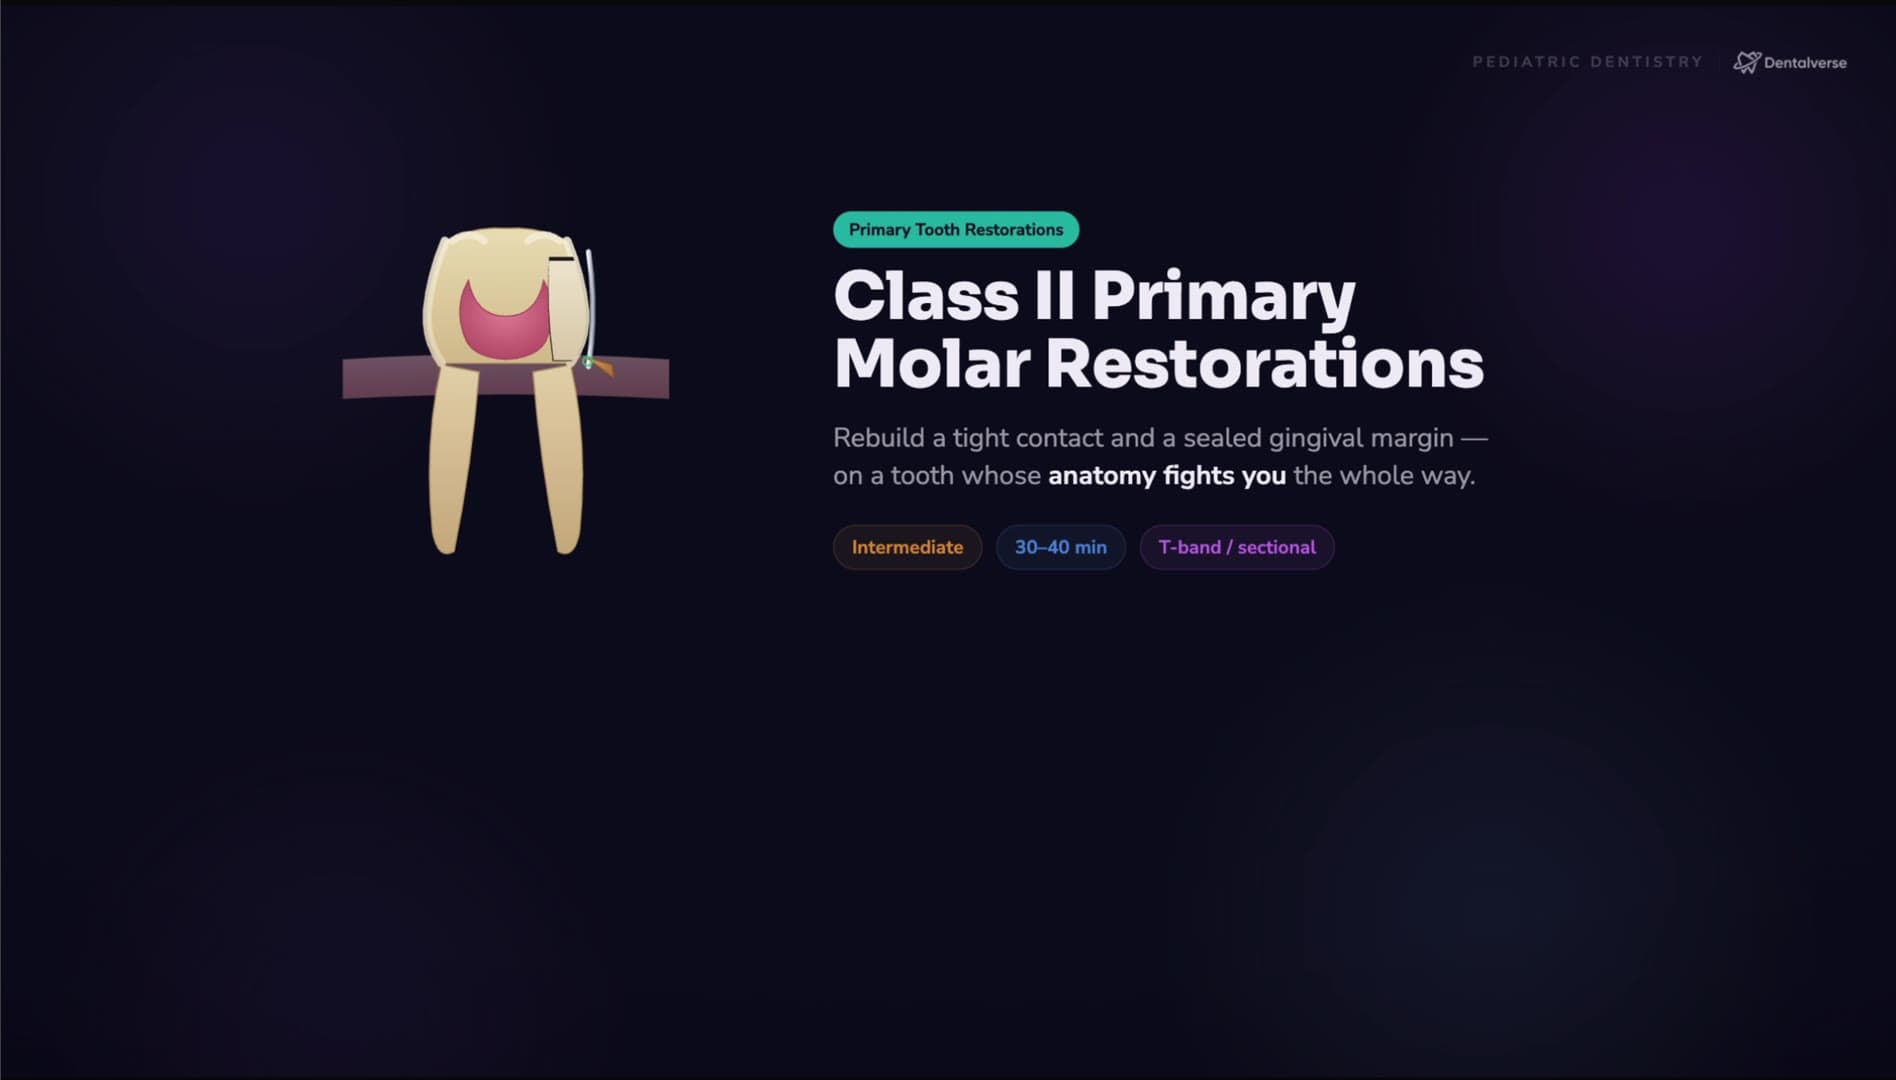
How to Place a Class II Restoration in a Primary Molar (Without an Open Contact or an Overhang)
Why primary molar anatomy makes Class II restorations hard — and how the matrix, wedge, and extent rule keep your contact tight and margin sealed.
On paper, a Class II in a primary molar is just an occluso-proximal filling — an intermediate procedure you can finish in thirty to forty minutes. In the chair, it's one of the easiest restorations to get subtly wrong, because the tooth's anatomy works against you at every step. Learn the anatomy first and the technique — and the classic errors — suddenly make sense.
The mental model: anatomy explains everything
A primary molar is not a small permanent molar, and three differences explain almost every difficulty in this procedure:
- Broad, flat proximal contacts. Instead of a neat point contact, primary molars touch across a wide zone — so a tight contact is genuinely harder to rebuild, because your matrix has to reproduce a surface, not a spot.
- A prominent cervical bulge. The convexity near the cervical margin means a matrix band doesn't naturally sit flush at the gingival margin — the classic setup for a hidden overhang.
- Thin enamel and dentin with high pulp horns. The pulp sits closer to the surface than you expect, so over-preparation risks an exposure on a tooth you meant to simply fill.
Every classic failure — open contact, gingival overhang, pulp exposure — traces back to one of these three. That's also why the make-or-break step isn't the composite at all: it's the matrix-and-wedge strategy, committed to early, because the matrix defines both the box you'll fill and the margin you'll seal. Case selection comes even before that — small-to-moderate lesions are filling territory, while extensive or multi-surface lesions usually call for a stainless steel crown, the more durable option under AAPD guidance. And keep the goal students forget in view: the filling restores the tooth, but only caries control keeps it restored.
Key takeaways
- Primary molar anatomy — broad flat contacts, a cervical bulge, high pulp horns — explains every classic Class II error.
- Case selection precedes technique: small-to-moderate lesions get a filling; extensive or multi-surface lesions usually get a stainless steel crown.
- The restoration is not disease control — without caries management, even a perfect filling fails early.
Learn the full protocol
The complete walkthrough is inside Dentalverse. It includes the narrated video lesson, the step-by-step protocol with armamentarium and pitfalls, and the night-before prep sheet. Start with the reference page, or start free to unlock the full lesson.
This article is a study aid for dental students, not medical advice — always follow your institution's protocols and current guidelines.