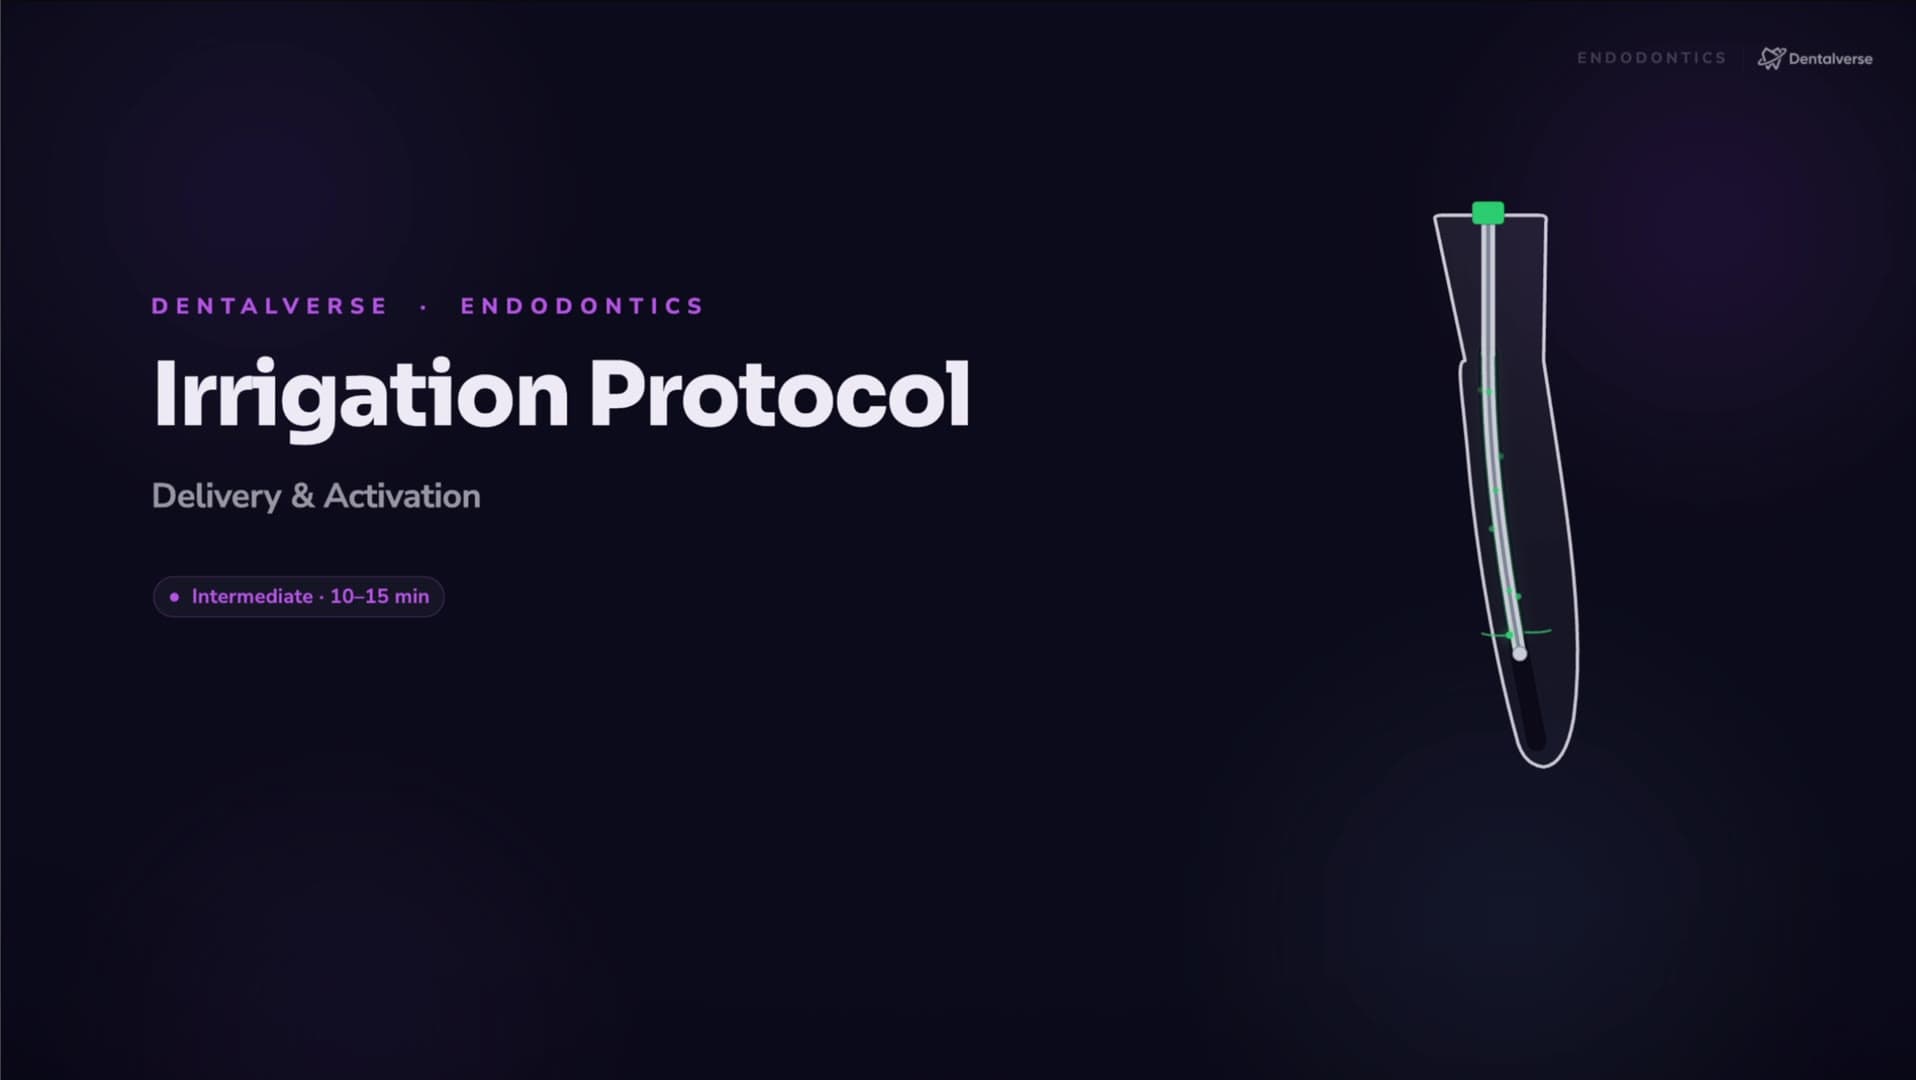
How to Irrigate a Root Canal Safely: Delivery, Activation, and the One Needle Rule to Memorize
Why files can't disinfect a canal, how NaOCl and 17% EDTA divide the work, and the 1–2 mm needle rule that prevents an NaOCl accident.
You can shape a canal beautifully and still leave it infected. Files cut dentin; they do not disinfect the anatomy they can't touch. Irrigation is where the actual cleaning happens — and where the most preventable endodontic accidents happen. Here's how to get both right.
Why instrumentation alone never cleans the canal
Think of the root canal system as a building with hallways and closets. Files travel the hallways — the main canal — but the closets are the isthmuses, fins, and lateral canals where pulp remnants and bacteria hide. No instrument reaches them; up to roughly 35% of the canal wall can go completely untouched by files.
Irrigants do three jobs no file can:
- 1Carry antimicrobial action into spaces instruments never enter.
- 2Dissolve organic tissue — the pulp remnants packed into those side spaces.
- 3Manage the smear layer, so disinfectants and medicaments can actually penetrate the dentinal tubules.
The mental model is a partnership: shaping creates access, chemistry does the disinfection. A canal that "looks clean" is not a canal that's disinfected.
The three irrigants — and why they're not interchangeable
Sodium hypochlorite (NaOCl) is your workhorse. It's strongly antimicrobial and dissolves organic tissue — a combination none of the other common irrigants offers. The AAE recommends using it throughout cleaning and shaping, with the caveat that early in the case, before the canal is enlarged, it may not yet reach full working length. Concentrations in practice vary widely, commonly around 0.5–6%.
EDTA at 17% is the smear-layer specialist. It chelates the inorganic debris that plugs tubule openings, and both the AAE and ESE support it as a final rinse. One critical property: EDTA's action on dentin is time-dependent. It gets a short, controlled rinse — never a prolonged soak.
Chlorhexidine (CHX) is an alternative antimicrobial with a serious asterisk: it has zero tissue-dissolving ability, so it cannot substitute for NaOCl's cleaning role — and it must never contact NaOCl directly (more on that below).
The exam-ready contrast: NaOCl handles the organic, EDTA handles the inorganic. Complementary, not interchangeable.
The smear layer: why the final sequence exists
Every stroke of a file smears a layer of mixed organic and inorganic debris across the canal wall, capping the mouths of the dentinal tubules. Because that layer has two components, removing it takes two solutions: 17% EDTA chelates the mineral portion and unplugs the tubules, then NaOCl dissolves the remaining organic film.
The payoff is open tubules — the route by which irrigants and medicaments penetrate dentin. Skip the EDTA step and the smear layer stays put; your disinfectant sits on a plugged surface instead of reaching into it.
Safe delivery: the needle rule you must memorize
If you take one number from this article, take this one: place the needle 1–2 mm short of working length. That figure comes with four non-negotiable qualifiers:
- Side-vented (or closed-end) needle. An open-ended needle fires a jet straight toward the apex; a side-vented design directs flow laterally so the irrigant refluxes back coronally — up and out, not through the foramen.
- Loose fit. The needle must never bind in the canal. A binding needle converts gentle delivery into an apical injection.
- Gentle flow. Inject slowly. Hydrostatic pressure is the mechanism of extrusion injury — keep it low.
- Keep it moving. A small up-and-down motion during delivery prevents the needle from wedging and helps exchange fluid.
The AAE's guidance distills to exactly this: short of working length, loose, gentle, moving. Both variables that cause an extrusion injury — pressure and apical placement — are entirely under your control.
Activation: making the irrigant work in the anatomy that matters
Delivering irrigant is the start, not the finish. Activation improves penetration and fluid exchange in exactly the places files can't reach — isthmuses, fins, lateral canals. Three options:
- Ultrasonic activation (PUI): an ultrasonically oscillating file or tip (non-cutting preferred) energizes the irrigant. Run it in short cycles and replenish fresh irrigant between them. The AAE recognizes these energy-activated devices as adjuncts.
- Sonic activation: lower frequency than ultrasonics, but it still meaningfully improves irrigant movement and exchange — a solid option when ultrasonic equipment isn't on your bench.
- Negative-pressure irrigation: an advanced approach that draws irrigant apically while aspirating it coronally. Because it pulls fluid rather than pushing it, it carries a lower risk of apical extrusion than positive-pressure delivery.
Whichever method you use, the discipline is the same: short cycles, fresh irrigant between them.
The sequence: during shaping and at the finish
Irrigation is woven through the case, not saved for the end. The rhythm at every file change: irrigate with NaOCl (side-vented needle, loose, 1–2 mm short of working length), recapitulate with a small file if needed to maintain patency and keep apical debris from packing, then irrigate again before the next instrument. Per AAE standards, irrigation is integrated with shaping — every instrument change, no exceptions.
Once shaping is complete, the final irrigation has a fixed order:
- 117% EDTA — short, controlled rinse to clear the smear layer. Not a soak.
- 2NaOCl — the final disinfecting rinse, so the canal finishes with an antimicrobial rather than a chelator.
- 3Optional activation — PUI or sonic, short cycles with replenishment, for enhanced cleaning.
Reverse the order and you leave EDTA sitting in a canal with no antimicrobial finish. Order matters.
Two "never" rules
Never set up an NaOCl accident. Extrusion injury is prevented by the same AAE precautions above: needle short of working length (never at or beyond it), loose fit, slow injection with constant small movement. Know the classic presentation — sudden severe pain, rapid swelling, bleeding — but prevention is the entire game.
Never let NaOCl and CHX meet. Direct contact triggers a chemical reaction forming a precipitate — para-chloroaniline — which is colored, occludes tubules, and is a potential toxicant. If your protocol uses both solutions, flush and dry between them so they never mix in the canal.
Key takeaways
- Files touch only part of the canal wall (up to ~35% may go untouched) — irrigation does the actual disinfection.
- Complementary chemistry: NaOCl dissolves organic tissue and disinfects; 17% EDTA removes the inorganic smear layer in a short rinse, never a soak.
- The needle rule: side-vented, 1–2 mm short of working length, loose fit, gentle flow, always moving.
- Irrigate at every file change; finish with EDTA then NaOCl, optionally activated in short, replenished cycles.
- Two absolutes: prevent the NaOCl accident with placement and pressure control, and never let NaOCl contact CHX.
Study this properly
Want the visuals — the needle designs side by side, the reflux pattern, the full sequence animated step by step? Start with the Irrigation Protocol (Delivery & Activation) reference page. The full narrated video lesson and the complete step-by-step protocol live inside Dentalverse — start free and study it the way it was meant to be taught.
This article is a study aid for dental students, not medical advice — always follow your institution's protocols and current clinical guidelines.