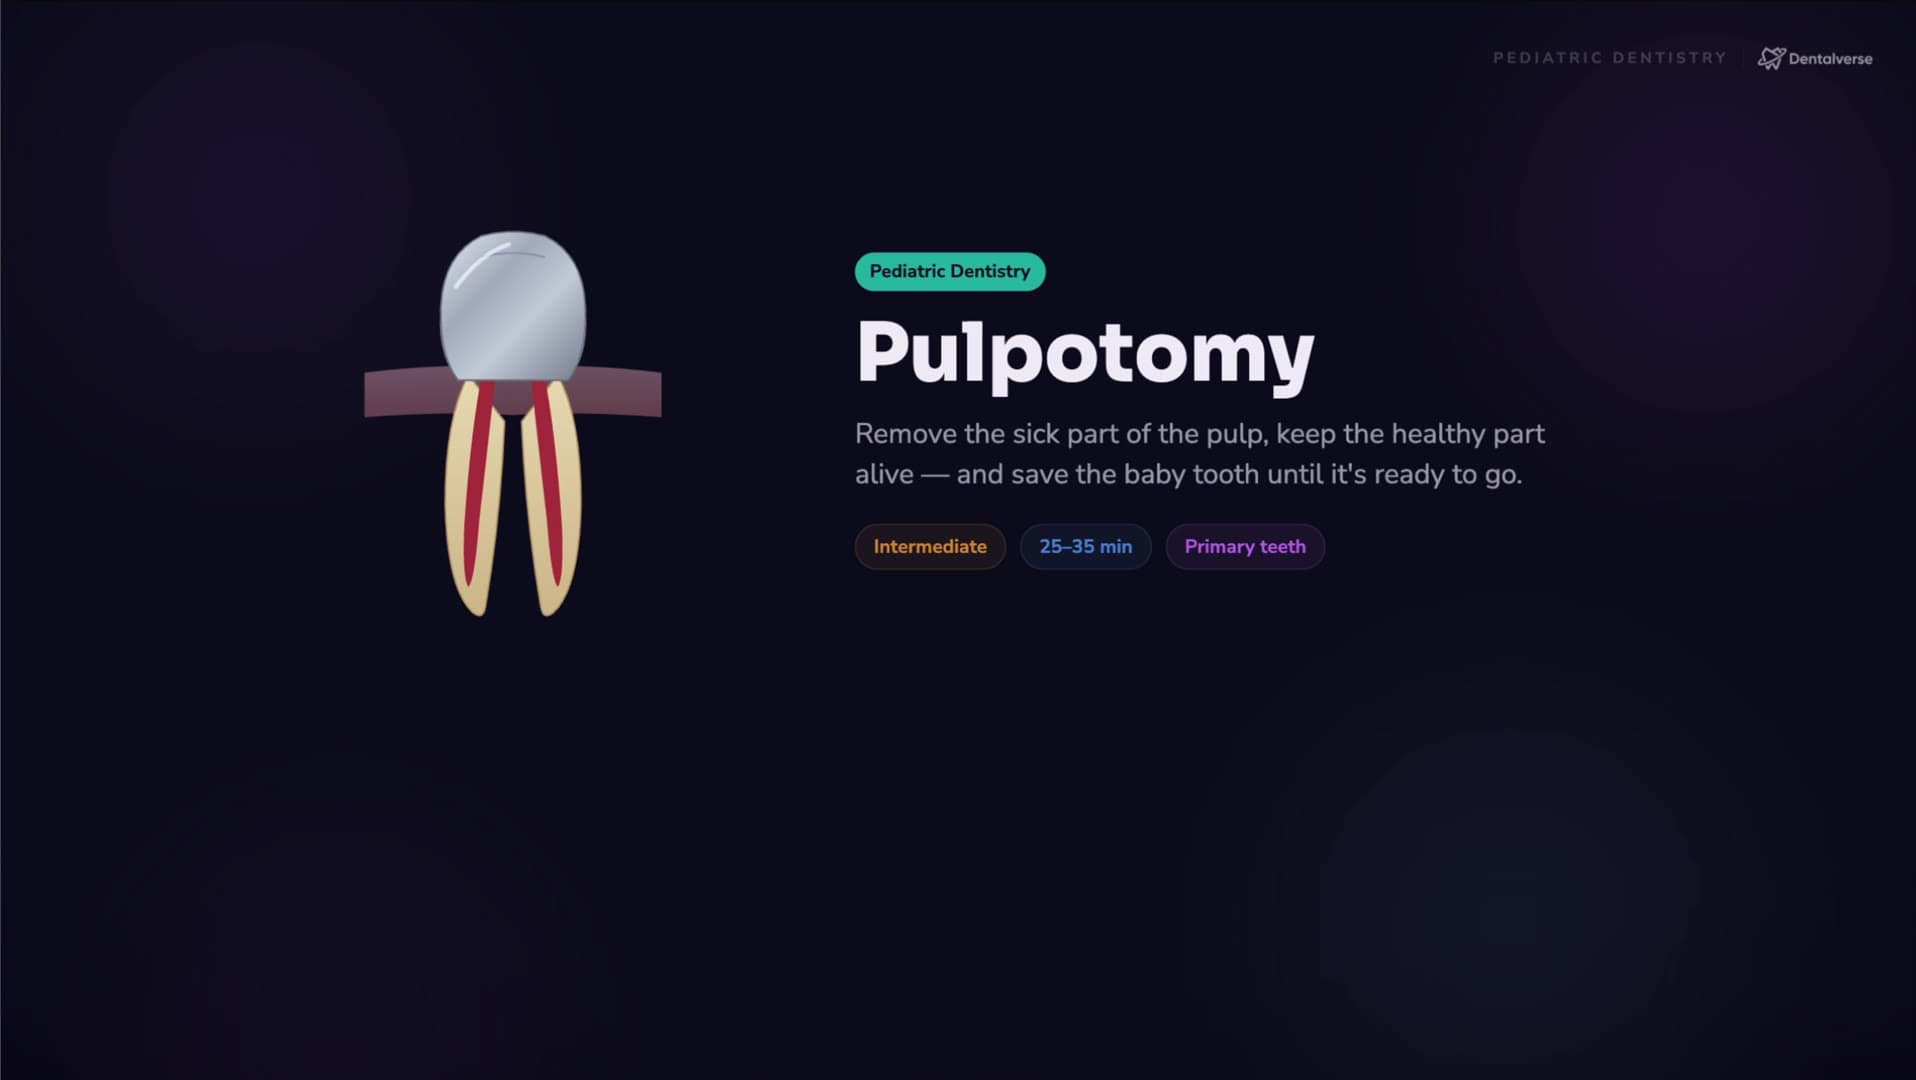
How to Do a Pulpotomy on a Primary Tooth: A Step-by-Step Guide (and When the Bleeding Says Stop)
Master the primary-tooth pulpotomy: case selection, MTA vs calcium hydroxide, the 8-step workflow, and why the bleeding at the orifices decides the plan.
You excavate a deep carious primary molar and the pulp is exposed. That is not automatically an extraction, and it is not a root canal — it may be a pulpotomy, one of the most-tested procedures in pediatric dentistry. The catch: half the diagnosis happens mid-procedure, and the bleeding at the canal orifices is the test.
The mental model: coronal out, roots stay — and the bleeding decides
A primary-tooth pulpotomy is vital pulp therapy. You remove the inflamed pulp from the coronal chamber only, deliberately leave the radicular pulp inside the roots alive, cap the canal orifices with a medicament, and seal the tooth, often with a stainless steel crown on primary molars. That coronal/radicular distinction is the entire concept: it separates a pulpotomy from a pulpectomy, which removes the root pulp too, and from the permanent-tooth pulpotomies exams love to confuse it with.
The tricky part: case selection is only half decided before you start. Pre-operatively you select a restorable tooth with normal pulp or reversible pulpitis — no swelling, sinus tract, or pathologic mobility, and no furcation radiolucency (in primary molars, pathology shows first at the furcation, not the apex). The final criterion only reveals itself at the chair: after coronal amputation, controllable bleeding at the orifices supports a vital radicular pulp — proceed. Uncontrolled hemorrhage or suppuration means the inflammation has reached the roots — switch to pulpectomy or extraction. The hardest skill is not technical; it is changing the plan mid-procedure instead of finishing the one you came to do.
On materials: current AAPD guidance supports calcium silicate cements — MTA or Biodentine — and recommends against calcium hydroxide, which is associated with internal resorption, the classic radiographic sign of failure. But no medicament rescues a leaking restoration; success rides on a correct hemostasis call plus a durable coronal seal.
Key takeaways
- A pulpotomy removes only the coronal pulp and keeps the radicular pulp vital — that distinction is the whole procedure.
- The bleeding at the canal orifices is a live diagnostic test, and the real skill is changing the plan when it fails.
- Materials matter (MTA or Biodentine per AAPD), but hemostasis judgment plus a durable coronal seal matter more.
Learn the full protocol
The complete walkthrough lives in Dentalverse. The narrated video lesson, the full step-by-step protocol with armamentarium and pitfalls, and the night-before prep sheet are all on the reference page. Start free to unlock them.
This article is a study aid, not medical advice — always follow your institution's protocols and the current guidelines.