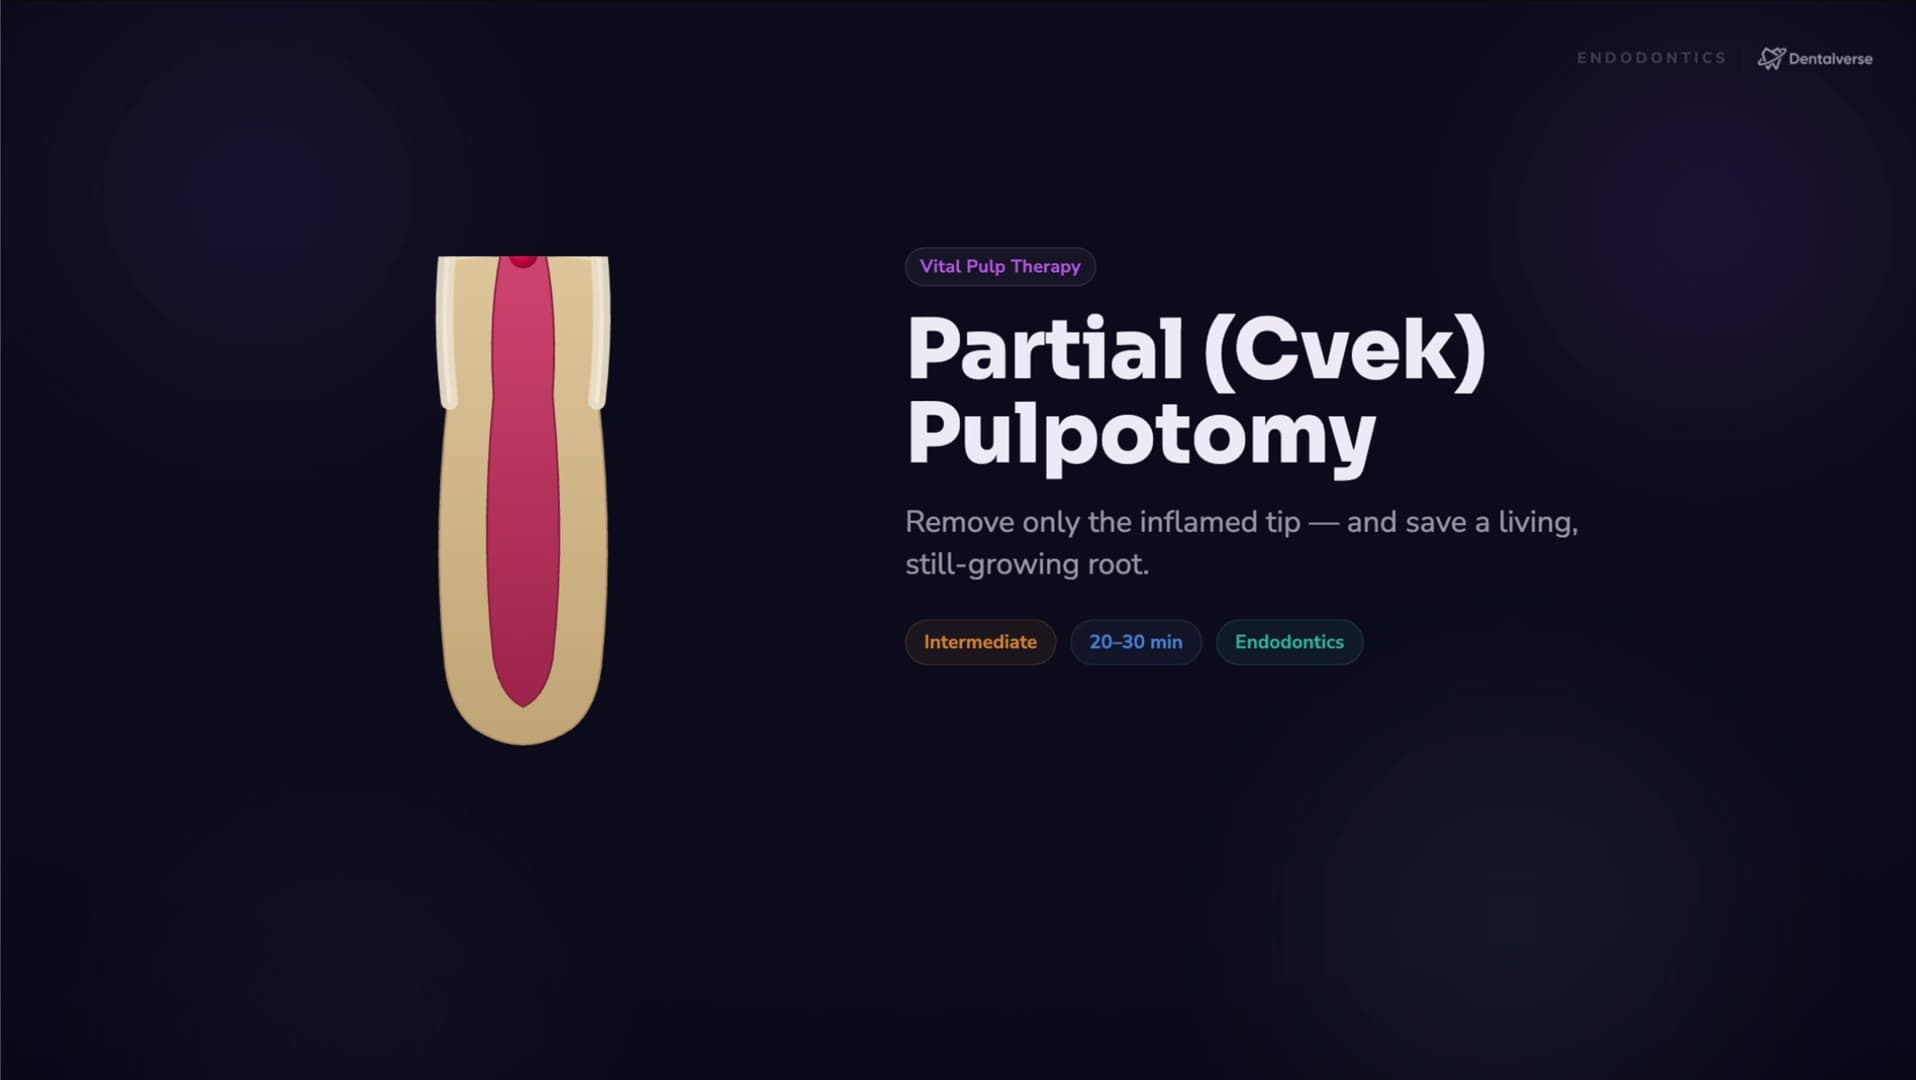
How to Do a Cvek Pulpotomy on a Fractured Young Tooth (And When to Escalate Instead)
How much inflamed pulp to remove in a partial (Cvek) pulpotomy, when bleeding means you escalate, and why apexogenesis matters in young teeth.
A teenager walks in with a fractured front tooth and a bead of blood at the exposure. Your instinct might be to cap it or to start a root canal — but the right answer is usually neither. The partial (Cvek) pulpotomy sits between those extremes, and knowing where it fits is the whole game.
What a partial pulpotomy actually is
A partial pulpotomy means removing a small portion of inflamed coronal pulp beneath an exposure — classically 1 to 3 millimeters — then placing a bioactive pulp dressing and an immediate, well-sealed restoration. You are not amputating the coronal pulp. You are shaving off the superficial, inflamed layer and leaving the healthy tissue underneath to keep working.
Why be so conservative? Because a vital pulp does something no root canal can: in a young tooth it keeps building the root. That is why this procedure is strongly recommended for traumatic crown fractures with pulp exposure, especially in immature permanent teeth.
Where Cvek sits on the vital-pulp-therapy ladder
The cleanest way to remember the whole vital-pulp-therapy family is to treat it as one question: how much pulp do you remove?
- Indirect capping removes no pulp — you never even enter it.
- Direct capping caps the exposure but removes no pulp.
- Partial (Cvek) pulpotomy removes 1 to 3 mm of inflamed pulp, then caps.
- Full pulpotomy removes all of the coronal pulp down to the canal orifices.
Partial pulpotomy is the middle ground. The more inflamed the pulp, the further right you move along that ladder. Once you internalize this, every clinical scenario has a place to land.
Picking the right case
Where does Cvek shine? First and foremost, traumatic complicated crown fractures. The IADT 2020 guidelines emphasize conservative vital pulp therapy for traumatized teeth; in immature permanent teeth, preserving the pulp is advantageous, and partial pulpotomy is specifically highlighted. The goal is to keep the pulp alive for continued root maturation — apexogenesis — and a stronger long-term prognosis.
The second indication is selected carious exposures. The AAE Vital Pulp Therapy position statement supports partial pulpotomy based on diagnosis and intra-operative findings, and evidence supports it with calcium-silicate materials even in mature teeth with symptomatic carious exposures — Taha's 2017 series reported over 80% success at two years. So while trauma in a young tooth is the flagship case, Cvek is not only for kids.
Now the red flags. Reconsider or avoid the procedure when you see irreversible pulpitis that a vital-pulp-therapy strategy cannot manage, or apical pathosis — swelling, a sinus tract, a periapical radiolucency. And there are two intra-operative stops: if you cannot isolate the tooth with a rubber dam, do not attempt it; and if you cannot achieve hemostasis at the pulp wound, that deeper bleeding is telling you the inflammation runs deeper than you can treat conservatively.
The seven-step protocol
Step 1 — Diagnosis and consent. Confirm the pulp is vital and the case suits vital pulp therapy, using symptoms, sensibility tests, and a radiograph. Explain the plan — the goal is to keep the pulp alive — and make sure the patient understands that follow-up is part of the deal. You are choosing biology over certainty here, so consent matters more than in a routine filling.
Step 2 — Isolation. Rubber dam, non-negotiable. Both IADT and AAE treat asepsis as essential, and the pulp wound must never meet saliva.
Step 3 — Clean the field and access the exposure. How you do this depends on the cause. For trauma, gently clean the fractured surface and clear debris around the exposure. For caries, remove the peripheral infected dentin to create a clean seal zone — the same selective-removal logic as indirect capping. Two doors, one destination: a clean margin around a clearly visible pulp exposure.
Step 4 — Remove the superficial inflamed pulp. This is the move that defines the procedure. Remove roughly 1 to 3 mm of coronal pulp beneath the exposure using a sterile high-speed diamond with water spray, or a sterile round bur. Stop when you reach healthier-looking tissue that bleeds in a controllable way. The endpoint is not a fixed depth — it is a tissue quality. Rinse and suction gently, but never desiccate the exposed pulp.
Step 5 — Hemostasis. This is the critical decision checkpoint. Apply a sterile cotton pellet with a hemostatic irrigant — commonly low-concentration sodium hypochlorite — with gentle pressure until bleeding is controlled. If it settles, the remaining pulp is healthy: proceed to dress and seal. If it will not settle, do not cap anyway. Escalate to a full pulpotomy or root canal treatment, depending on diagnosis and restorability. The AAE calls bleeding control the key intra-operative determinant, and here it decides cap versus remove more.
Step 6 — Place the pulp dressing. Modern guidance favors calcium-silicate bioactive cements — MTA-class or Biodentine-type. Place a layer over the pulp wound with gentle adaptation, and do not overpack. The dressing seals the wound and signals the pulp to lay down new hard tissue.
Step 7 — Immediate definitive seal. Rebuild the tooth in the same visit. Restore with an excellent coronal seal — a bonded restoration, with cuspal coverage if the tooth needs it structurally. Both ESE and AAE stress that long-term success relies heavily on preventing microleakage. The dressing protects the pulp; the seal protects the dressing.
The payoff: apexogenesis
Here is why you fought to keep this pulp alive. A living pulp keeps building the root — apexogenesis. In an immature tooth, preserving vitality lets the root walls thicken as new dentin narrows the wide, thin-walled canal; the root lengthens, improving the crown-to-root ratio; and the open apex closes into a naturally sealed root end. A root-treated immature tooth is stuck with thin, fracture-prone walls and an open apex forever. Apexogenesis gives you a normal, strong root — but only if the pulp survives.
That is also what you watch for on recall. Clinically, success means no spontaneous pain, normal function, acceptable sensibility over time, and no swelling, sinus tract, or tenderness. Radiographically, it means no apical pathosis developing — and in immature teeth, continued root development. A lengthening root on the recall film is exactly the win you were after.
Key takeaways
- Remove only the inflamed layer — classically 1 to 3 mm — and stop at healthy, controllably-bleeding tissue, not a fixed depth.
- Bleeding decides the level. If it settles, dress and seal; if it will not, escalate to full pulpotomy or root canal treatment.
- It is best in young, injured teeth, because a preserved pulp lets the root finish growing — apexogenesis.
- The seal is not optional. A bioactive dressing plus an immediate, leak-proof restoration in the same visit is what makes it work.
- Document diagnosis, tooth maturity, exposure type and timing, hemostasis, material, restoration, and a baseline film — for trauma, time since injury matters medico-legally and biologically.
Study this properly
Read the full Partial (Cvek) Pulpotomy reference page for the structured breakdown. The complete narrated video lesson — plus the step-by-step protocol, the VPT-ladder framing, and the escalation logic at the hemostasis checkpoint — lives inside Dentalverse. Start free.
This article is a study aid for dental students, not medical advice. Always follow your institution's protocols and your supervising clinician's guidance.