How to Cut an Access Cavity That Finds Every Canal (Anterior, Premolar, Molar)
Master the 5-step access protocol, the outline shapes for every tooth, and how to find MB2 — a dental student's guide to access cavity preparation.
Every root canal you will ever do is decided in the first ten minutes — before a single file touches a canal. The access cavity determines whether your instruments glide to the apex or fight you the whole way down, and whether you find four canals or leave one behind to fail the case. Here is how to think about access like an endodontist, not like someone drilling a hole.
The four jobs of every access cavity
Strip away the tooth-by-tooth details and access has exactly four jobs. First, eliminate all caries and defective restorations, because a coronal seal built on infected dentin is no seal at all. Second, unroof the pulp chamber completely — the entire roof, every pulp horn — so the whole floor is visible and no orifice can hide under a ledge. Third, establish straight-line access into each canal so files enter without deflecting. Fourth, conserve sound tooth structure — but never so aggressively that you compromise finding, disinfecting, and controlling the canals.
Straight-line access is the rule that governs the other three. A file forced to bend just to enter a canal is a file under stress, and stressed files produce ledges, transported canals, blockages, and separations. The test is brutally simple: if the instrument deflects on the way in, the access is not finished. Minimally invasive dentistry is a virtue, but complete unroofing and canal location remain the non-negotiable goals — conservatism comes after those are secured, not instead of them.
Before the bur touches enamel
Five conditions should be true before you cut. Rubber dam is on — before access begins, not after, because it is the standard of care for asepsis and airway protection. You have well-angulated preoperative radiographs and have actually read them: chamber depth, canal positions, the tooth's long axis. You have assessed the risks — calcification, deep caries, rotation, previous endodontics, and the realistic possibility of extra canals. Caries and unsupported enamel are already removed, so you never cut access through failing structure. And you are working under magnification with coaxial light, because a floor you cannot see is a floor you will misread.
Your tray tells the same story. A high-speed handpiece with generous water spray. A round diamond or carbide bur to penetrate, then a safe-ended Endo-Z bur to unroof — the non-cutting tip is the whole point, letting you rest the instrument on the pulpal floor and cut laterally without gouging toward the furcation. Add a long-shank round bur for deep chambers, a DG16 explorer and micro-openers to map the floor, ultrasonic tips for delicate troughing, and sodium hypochlorite with suction ready so debridement starts the moment you are in.
One sequence for every tooth
The protocol does not change between an incisor and a second molar; only the geometry does.
- 1Enter along the long axis. Read the film for depth and direction, then penetrate until you feel the dentin "drop" into the chamber. Orient to the root, not the crown — a rotated or heavily restored tooth will lie to you about direction.
- 2Unroof completely. Switch to the safe-ended bur and remove the entire roof. Partial unroofing is how orifices get missed.
- 3Locate the orifices systematically. Irrigate, dry, and read the floor. The floor is darker than the walls, and the developmental grooves run like a map to each orifice, which sits at the floor–wall junction.
- 4Refine for straight-line access. Remove dentin triangles and cervical interferences only as far as the files demand. Over-flaring buys you nothing except a weaker tooth.
- 5Confirm you have them all. Re-inspect under magnification, take an angled radiograph if in doubt, and work on the assumption that another canal exists until you have proven otherwise. Missed canals are a leading cause of endodontic failure.
The outline shapes — and why they look that way
The shape you cut is not a convention; it is a projection of the chamber underneath. Anterior teeth take a rounded triangle on the lingual surface over the cingulum — opened until a hand file drops straight in without deflecting off the lingual shelf. Under-extend and files ledge and transport; over-extend toward the incisal and you weaken the tooth for no clinical gain.
Premolars take a narrow buccolingual oval in the central groove. The operative word is narrow: wander mesiodistally and you strip or perforate thin proximal walls. Inspect both ends of the oval for buccal and palatal orifices whenever the anatomy hints at two canals — the classic premolar error is a second canal missed through timid unroofing.
Molars: the MB2 problem
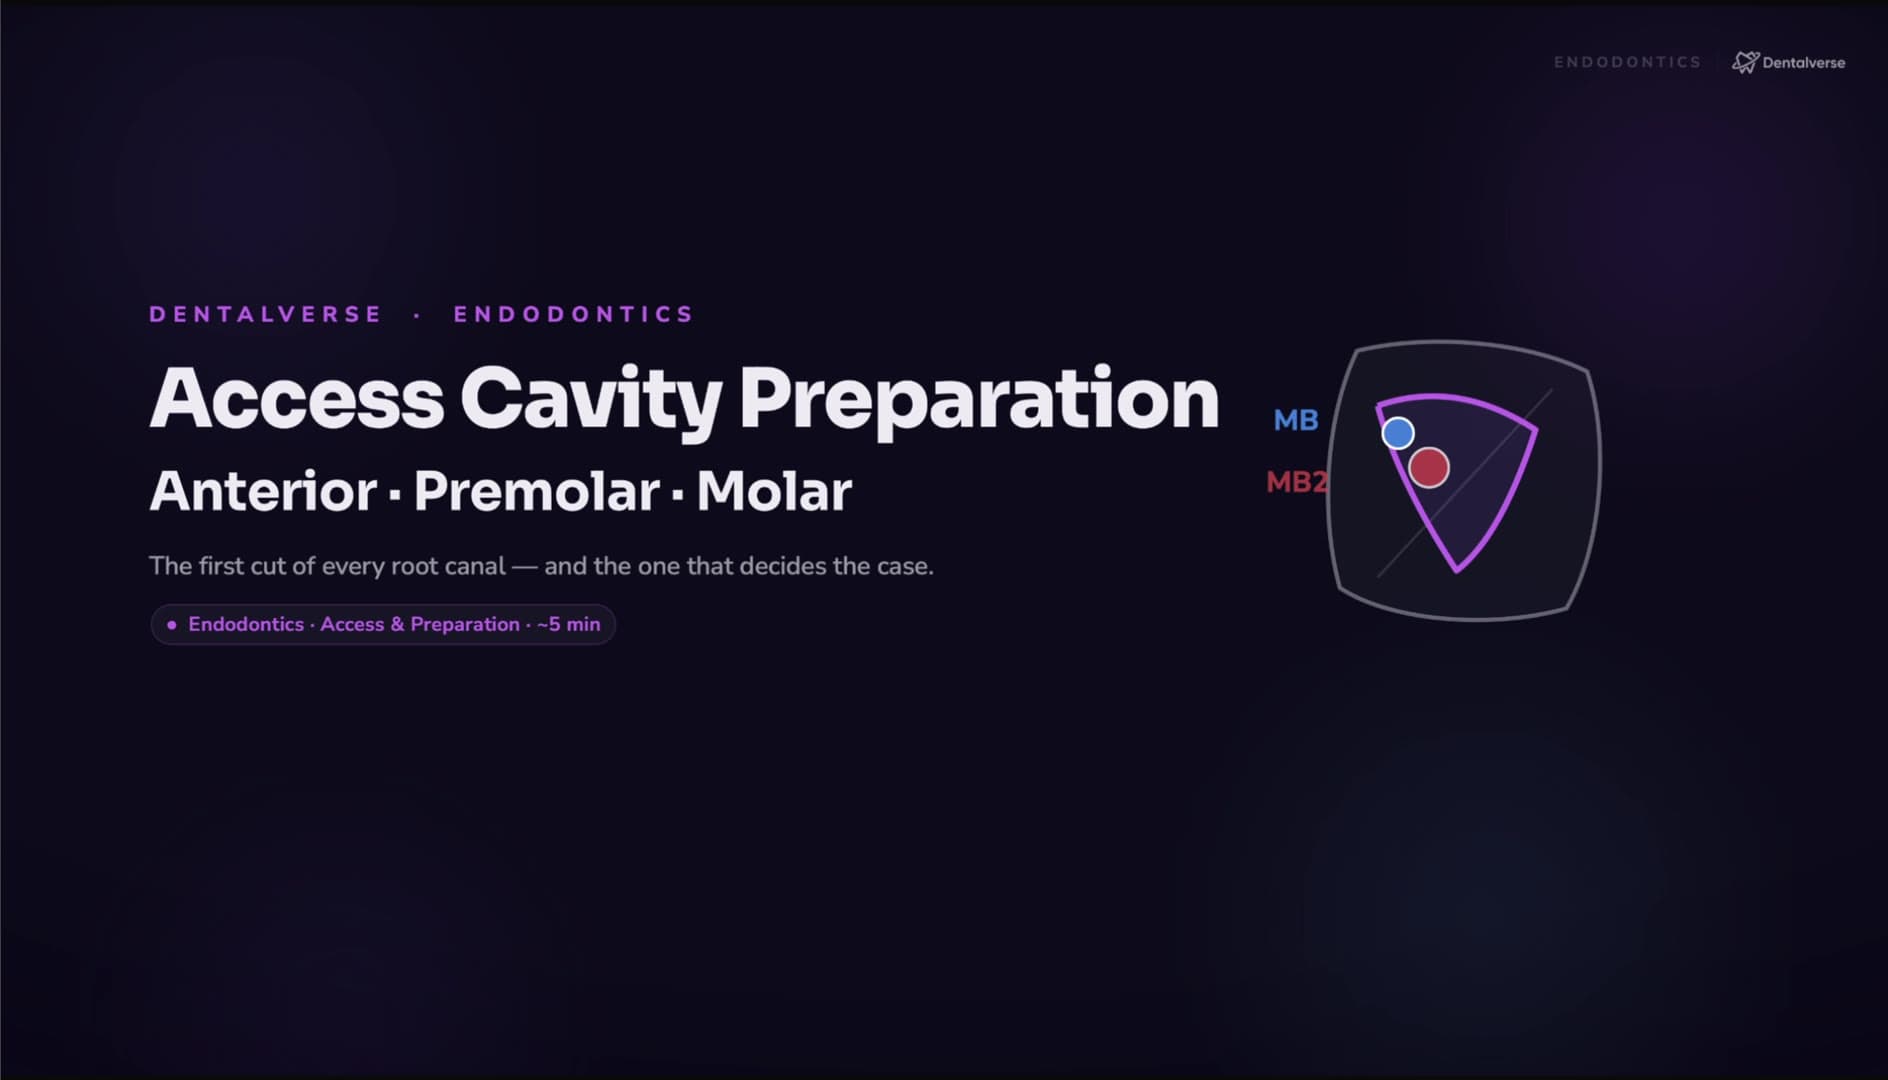
Maxillary molars take a triangular access over three or four canals — MB, DB, and the large palatal, plus the canal that separates good access from great access: MB2. It sits just palatal to MB1, along the groove running toward the palatal orifice. On CBCT it appears in roughly 70% of maxillary first molars (Martins et al., meta-analysis), and direct access under magnification pushes detection toward about 90% — which is exactly why it is also the most commonly missed canal. Trough that MB1–palatal groove under magnification; if you have not deliberately looked for MB2, you have not finished the access.
Mandibular molars take a trapezoid confined to the mesial half of the occlusal surface, serving the mesiobuccal, mesiolingual, and distal canals — the distal typically being the widest. In any calcified or rotated molar, treat perforation as a live risk: radiographic planning and strict depth control are mandatory, not optional.
When to put the handpiece down
Three signals mean stop immediately. You have drilled to the estimated chamber depth and found nothing — recheck your radiograph angulation and the tooth's orientation before going deeper. Sudden bleeding in an unexpected spot, or the bur dropping off to one side — suspect perforation and stop. Files keep deflecting and will not establish a glide path — the access is misaligned or too restrictive; refine it rather than forcing instruments.
And know the finish line: every orifice located, straight-line entry to each canal, an intact and ungouged pulpal floor, smooth funnelled walls, and nothing removed but what the case required.
Key takeaways
- Access has four jobs: remove all caries and old restorations, unroof completely, create straight-line access, and conserve structure — in that order of priority.
- If a file bends to enter a canal, the access is not done. Straight-line access is the golden rule.
- Read the floor, not your assumptions: it is darker than the walls, and the developmental grooves point to every orifice.
- MB2 is present in about 70% of maxillary first molars on CBCT and up to roughly 90% on direct access — hunt for it every time.
- No chamber at depth, unexpected bleeding, or files that will not pass: three red flags that mean stop and reassess.
Study this properly
Walk through the full outline forms, floor anatomy, and instrument choices on the Access Cavity Preparation (Anterior/Premolar/Molar) reference page. The complete narrated video lesson and the step-by-step access protocol — with the AAE and British Endodontic Society sourcing behind every claim — are inside Dentalverse (start free).
This article is a study aid for dental students, not medical advice — always follow your institution's protocols and current clinical guidelines.