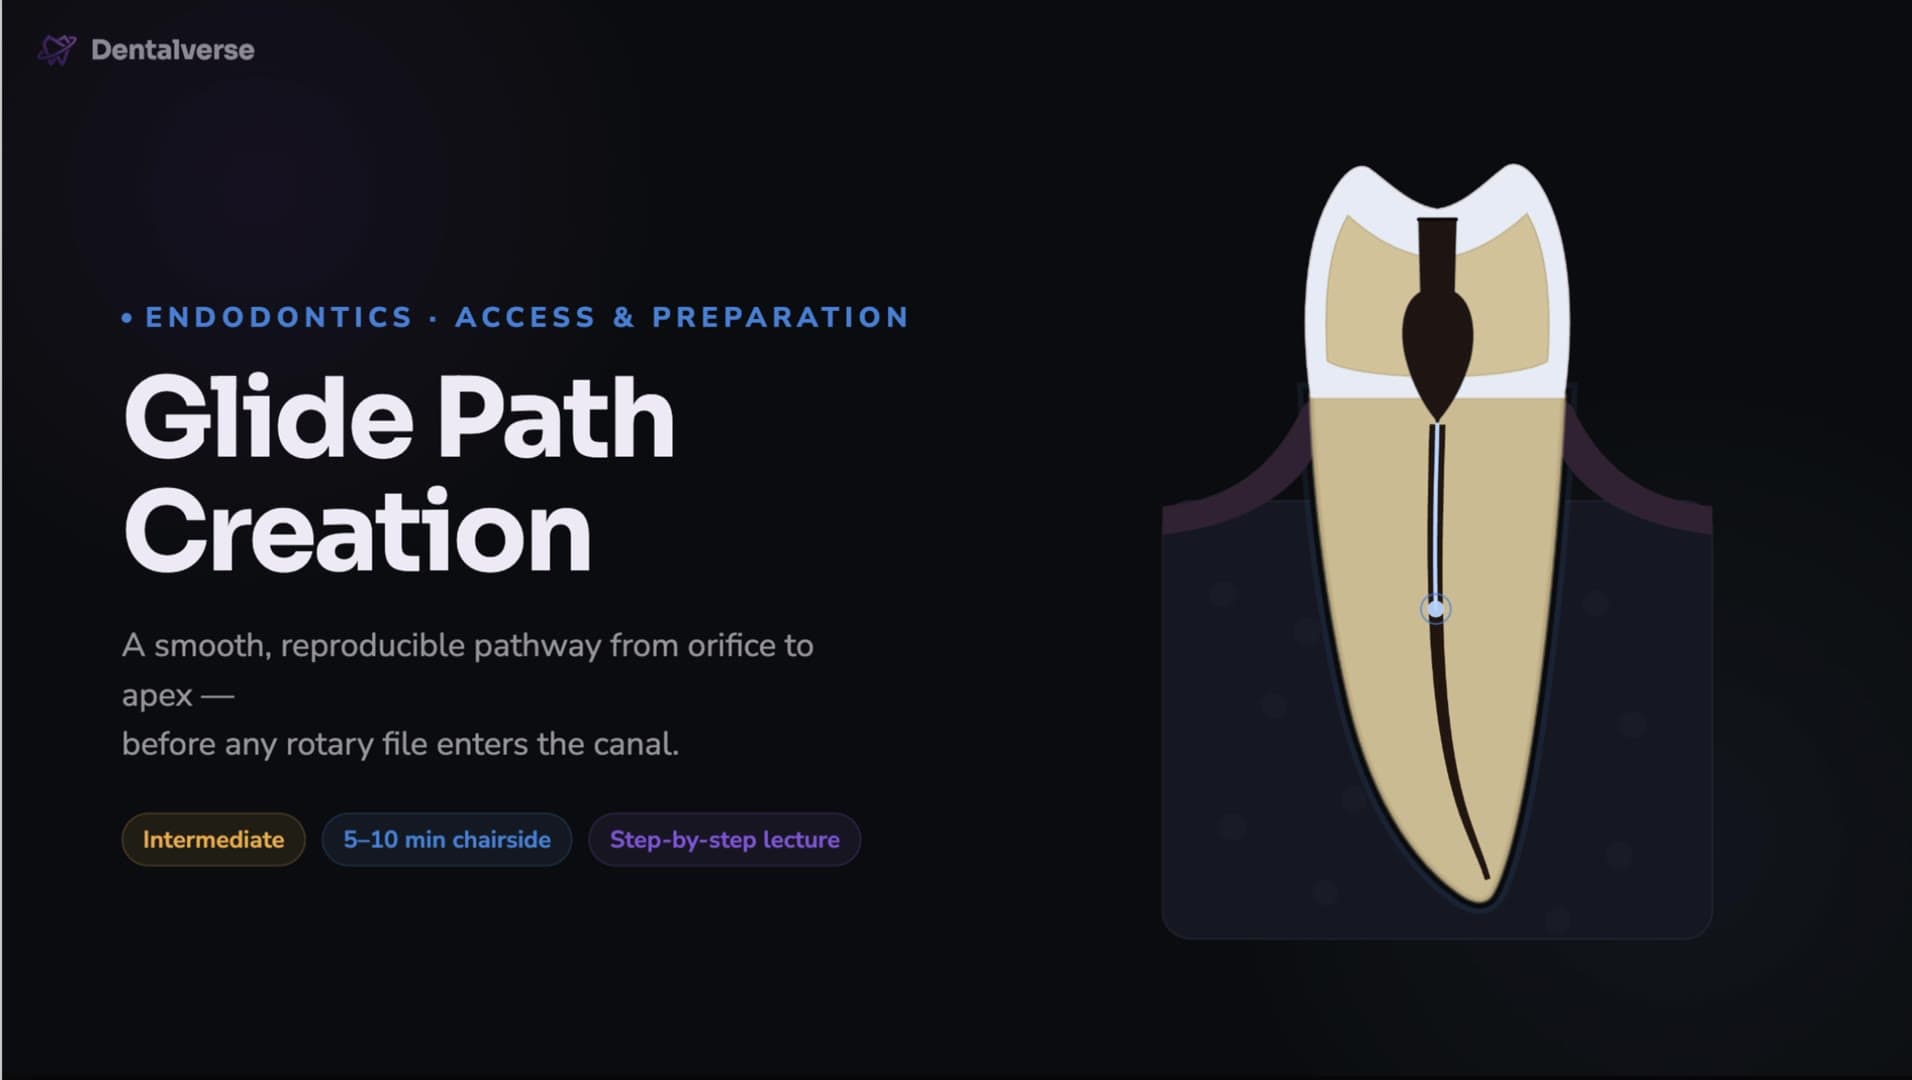
How to Create a Reproducible Glide Path in Root Canal Treatment (Step by Step)
The three-word test for a true glide path, the scout-reproduce-enlarge protocol, and the four errors that ledge canals and separate files.
Most separated files and ledged canals don't start with the rotary — they start thirty seconds earlier, when someone skipped or rushed the glide path. It's the least glamorous phase of endodontics and the one that quietly decides whether shaping goes smoothly or turns into damage control. Here's how to build one properly, and how to know when you actually have it.
What a glide path actually is
A glide path is a smooth, reproducible tunnel running from the canal orifice to the canal terminus. That's the whole definition — but every word in it is doing work. Its job is to give your engine-driven nickel-titanium shaping files a pre-negotiated track so they can cut safely and under control instead of finding their own way through the canal.
The test for whether you have one is tactile, not visual. A small hand file — classically an ISO #10, often enlarged to a #15 depending on the case and your shaping system — must reach working length smoothly, repeatedly, and without binding. Those three words are the entire exam question. If any one of them fails, you don't have a glide path yet; you have a file that got lucky once.
Why this small step prevents big failures
Three reasons, and they compound.
First, a glide path reduces canal transportation and improves centering during shaping. The canal keeps its original anatomy instead of being straightened by an instrument fighting its way apically.
Second, it lowers torsional stress on your NiTi files. Binding is what loads a rotary file torsionally, and torsional overload is what separates instruments. A pre-negotiated path means less binding, less load, and a dramatically better safety margin.
Third, it makes shaping predictable — which matters most exactly where students struggle: narrow canals, curved canals, and teeth with coronal interferences.
Flip that logic around and you get the teaching pearl worth memorizing: running rotary instrumentation without a negotiable, reproducible path is precisely when ledges, blockages, transportation, and separated instruments happen. These aren't random bad luck. They're the predictable cost of skipping this step.
The pre-flight checklist
Before your first file touches the canal, four conditions should already be true:
- 1Adequate access. Files should enter the canal without severe deflection. If your file is bending against a cavity wall on the way in, fix the access before blaming the canal.
- 2Working length established. Use an electronic apex locator, confirmed with a radiograph.
- 3Irrigation ready. You'll use it constantly while scouting, not just once at the start.
- 4The patency mindset. Gentle scouting, frequent recapitulation, and an absolute rule: never force an instrument. The canal dictates the pace, not you.
Manual glide path: scout, reproduce, enlarge
The manual technique is the foundation everything else sits on.
Step 1 — Scout. Irrigate with sodium hypochlorite per your protocol, suction the excess so you can actually see, and take an ISO #8 or #10 K-file. If the canal is curved — or the file simply won't progress — pre-curve the tip. Advance with gentle watch-winding: small clockwise–counterclockwise oscillations combined with short in-and-out strokes. Move apically only when the file feels loose. If the #10 won't reach working length, do not jump to rotary. Drop to a smaller file, irrigate more, and re-evaluate your access.
Step 2 — Make it reproducible. This is the point students miss most often. A glide path is not created the first time you touch working length. You must be able to return to length with the same file, again and again, with controlled tactile feel — no catching, no binding. One pass is not a glide path. Reproducibility is.
Step 3 — Enlarge. Once the #10 is reproducible, take the #15 to working length with the same gentle motion. Some protocols continue to a #20, depending on canal size and the shaping system you'll use. Between every size: irrigate, then recapitulate with the #10 to maintain patency and keep debris moving coronally. Your endpoint is a smooth radicular tunnel where a small file feels super-loose at length.
Mechanical glide path files: earn them first
Engine-driven glide path instruments genuinely help — they add efficiency and improve centering, and reviews show that glide path creation, especially mechanized, reduces transportation and improves shaping behavior. But there is a hard gate: a small hand file must reach working length first. Mechanical glide path files come after manual negotiation, never instead of it.
The technique: irrigate, insert with light apical pressure, and use short pecking motions. Remove the file often to wipe the flutes — don't let debris pack apically — and recapitulate with a small hand file between cycles. If the instrument screws in or binds, stop immediately and return to hand negotiation.
One caveat on reciprocating systems: some studies and manufacturer protocols suggest certain reciprocating files can reach length without a formal glide path in many canals. Maybe so — but in constricted, curved, or calcified canals, a manual reproducible path remains the safety step clinicians rely on. As a student, your default is simple: negotiate and reproduce with small hand files first.
The four errors that cost students canals
- 1Forcing the #10 to length. That's how ledges, transportation, and blockages are made. Fix: more irrigation, confirm access, pre-curve a smaller #8, recapitulate often.
- 2One lucky pass, then straight to rotary. The rotary binds and you're gambling on separation. Reproducibility first, always.
- 3No recapitulation. Debris packs apically, the canal blocks, and you lose working length you already earned.
- 4Overusing glide path instruments. Fatigued metal fails without warning. Follow your usage policy and inspect every instrument before it enters a canal.
Key takeaways
- A glide path is proven by one test: a small hand file to working length — smoothly, repeatedly, without binding.
- One pass is not a glide path; reproducibility is the entire point.
- Enlarge #10 → #15 (sometimes #20), irrigating and recapitulating between every size.
- Mechanical glide path files come after manual negotiation, never instead of it.
- Never force an instrument — when progress stops, go smaller, irrigate, and recheck access.
Study this properly
Walk through the full protocol, instrument specs, and references on the Glide Path Creation reference page. The complete narrated video lesson with the step-by-step protocol, common-error breakdowns, and exam-style checks is inside Dentalverse — start free.
This article is a study aid, not medical advice — always follow your institution's protocols and your supervisor's guidance.