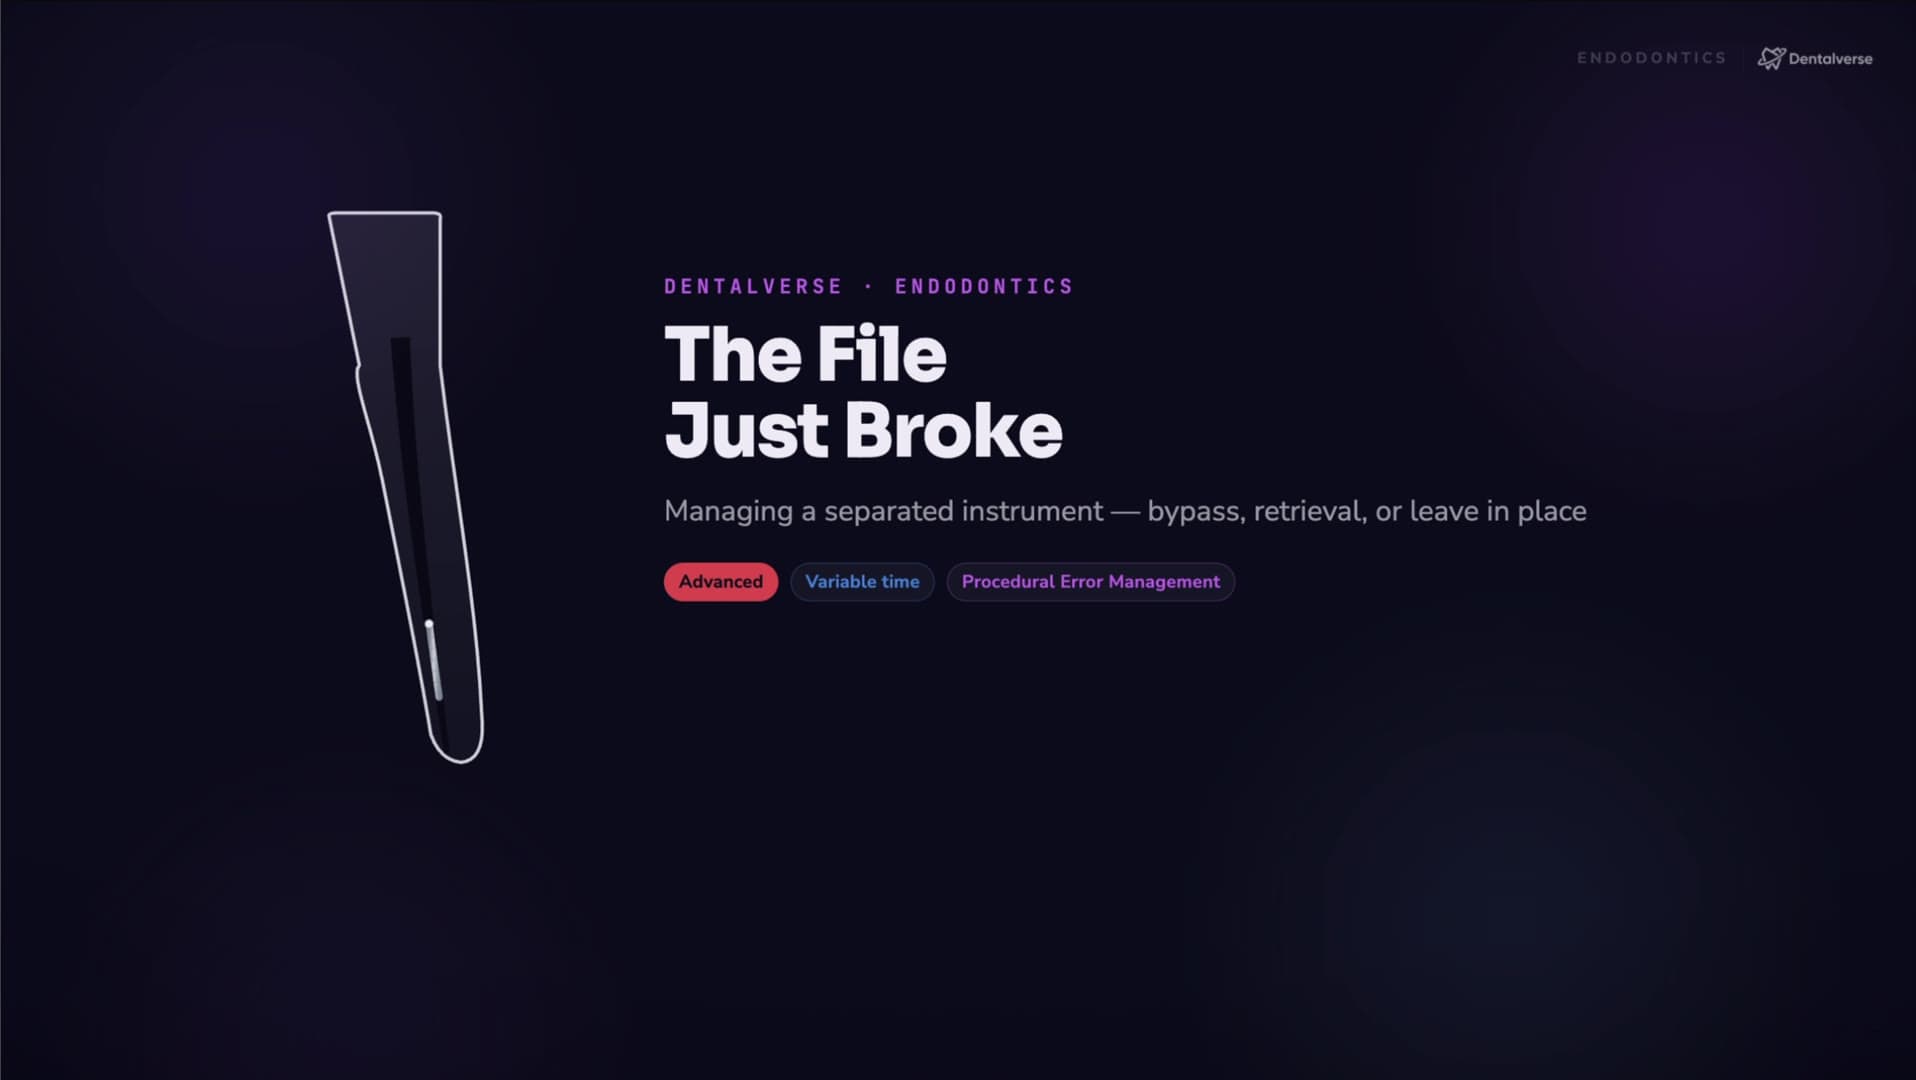
Broken File in the Root Canal? How to Decide Between Bypass, Retrieval, and Leaving It
A separated file isn't the disease — blocked disinfection is. Learn the AAE 3-question algorithm for choosing bypass, retrieval, or entombment.
A file snaps mid-shaping and suddenly there's a metal fragment sitting in your canal. Every student's instinct is the same: dig it out, now, at any cost. That instinct is how one complication becomes two — the evidence says slow down and make a structured decision.
First, unlearn the panic: the fragment is not the disease
Here is the idea that reframes the entire problem: a separated instrument does not, by itself, cause apical periodontitis. The fragment is inert metal — a sterile piece of steel in a canal is not an infection, it's an obstacle.
The real threat is what the fragment prevents: cleaning and disinfection of the apical canal space. If bacteria live beyond the fragment and you can no longer reach them, healing is at risk. This principle is the foundation of the AAE clinical decision-making algorithm for broken instruments, and it should drive every choice you make afterward. You are treating the bacteria you can't reach — not the metal.
The first 60 seconds: five moves, in order
What you do immediately after separation sets up everything else. Drill this sequence until it's automatic:
- 1Stop instrumenting. Immediately. Continuing to work risks pushing the fragment deeper — a harder problem in every branch of the algorithm.
- 2Keep the rubber dam on. Isolation controls the field and prevents contamination while you think.
- 3Tell the patient — calmly and factually — and write it down. Disclosure and documentation are an ethical and medico-legal standard, not a courtesy.
- 4Take working radiographs at different angulations. Identify the canal, the level (coronal, middle, or apical third), the curvature, and the access difficulty.
- 5Choose your management with a structured algorithm — bypass, retrieve, or entomb — rather than by reflex.
Notice what's not on the list: reaching straight back in with another file. Fragment-hunting before you've assessed the case is precisely what causes the second error.
Three questions that pick the branch for you
The AAE algorithm boils down to three questions. Answer them honestly and the case largely decides itself.
Question 1 — what was the pulpal status? If the canal was vital or not heavily infected and the fragment sits apically, aggressive removal may not be indicated at all.
Question 2 — does the fragment block disinfection? If the canal is infected or necrotic — especially with apical periodontitis — and the fragment stands between you and the apical third, you have a real problem. Try bypass first; consider retrieval if bypass fails and the risks are acceptable.
Question 3 — will retrieval weaken the tooth? Removing a fragment can demand real sacrifice of dentin, bringing risk of perforation, cracks, and vertical root fracture. A retrieved fragment inside a structurally doomed root is not a win.
The goal is a long-term functional tooth — not a trophy fragment on the tray. Let the answers pick the branch, not your ego.
Option 1 — Bypass: controlled negotiation, not brute force
Bypass is often the first choice, particularly for curved canals and apical-third fragments where retrieval risk runs high, when straight-line access is limited, and when preserving dentin matters. The workflow:
- 1Refine your access so files reach the fragment without deflection — this step is critical and often skipped.
- 2Irrigate, then introduce a small pre-curved stainless steel K-file — an 06, 08, or 10.
- 3Work along the canal wall with gentle watch-winding and light picking motions, feeling for the space between the fragment and dentin.
- 4Once you catch a path, advance in tiny increments, withdrawing to clean the flutes and irrigating between advances.
- 5On reaching working length past the fragment, confirm it's reproducible, build a new glide path, and enlarge gradually before any engine-driven shaping.
If you've studied ledge management, this should feel familiar — the pre-curved small-file negotiation is the same skill, reused. Bypass is the algorithm's conservative branch: patience and access refinement, never force.
Option 2 — Retrieval: see it, trough it, deliver it
Retrieval earns its place when the fragment sits in the coronal or middle third with good straight-line access, minimal curvature, and enough dentin thickness to safely create a staging platform — typically when it blocks disinfection of an infected apical portion and bypass has already failed. Three steps:
- 1Create a staging platform. Under magnification, remove dentin conservatively to expose the coronal end of the fragment. You cannot retrieve what you cannot see — magnification is non-negotiable here.
- 2Trough with ultrasonics around that exposed coronal end and vibrate the fragment loose.
- 3Deliver it. If ultrasonics alone won't bring it out, move to an adjunct such as a loop device, matched to your skill level and the canal anatomy.
Before you commit, weigh the two factors that independently predict a longer, harder removal: greater canal curvature and greater fragment length (Terauchi et al., JOE 2021, whose clinical series also found most instruments retrievable with ultrasonics). The more the canal curves and the longer the piece, the more dentin you'd sacrifice — and the higher the risk to the tooth. When those predictors stack against you, they're not trivia; they're a signpost back toward bypass or entombment.
Option 3 — Entombment: sometimes leaving it is the evidence-based choice
Entombment — leaving the fragment in place — is appropriate when the canal was vital or not heavily infected and the fragment is apical; when retrieval risk is high (curved canal, thin roots, apical-third location); and when you can still achieve acceptable disinfection down to the fragment using enhanced irrigation and activation.
The rationale is the opening principle coming full circle: broken instruments are not a cause of apical periodontitis. Adjust the strategy — clean and irrigate to the fragment, obturate to that level, and monitor. Sometimes leaving it is the braver, more evidence-based call than heroics that hollow out the root.
Document it like a professional
Whatever branch you choose, record it every time: the tooth, canal, instrument type and size, and the treatment stage at separation; the fragment's location, the curvature, and the radiographs taken; your chosen management and its rationale; and the patient discussion and consent for the plan. Informing the patient, explaining options and prognosis, and documenting thoroughly is both an ethical and a medico-legal standard (Ba-Hattab et al., 2020).
Key takeaways
- A separated instrument alone doesn't cause apical periodontitis — blocked disinfection does. Treat the canal, not the metal.
- First minute: stop, keep isolation, inform the patient, radiograph at multiple angulations, then decide by algorithm.
- Three questions choose the branch: pulpal status, whether disinfection is blocked, and whether removal would weaken the tooth.
- Canal curvature and fragment length predict retrieval difficulty — let them steer you toward bypass or entombment when they stack up.
- Disclosure and thorough documentation are non-negotiable, ethically and medico-legally.
Study this properly
Work through the full protocol, decision criteria, and case details on the Separated Instrument Management (Bypass / Retrieval) reference page. The complete narrated video lesson — with the step-by-step decision tree walkthrough — is inside Dentalverse (start free).
This article is a study aid, not medical advice — always follow your institution's protocols and current clinical guidelines.